Friday, January 31, 2014

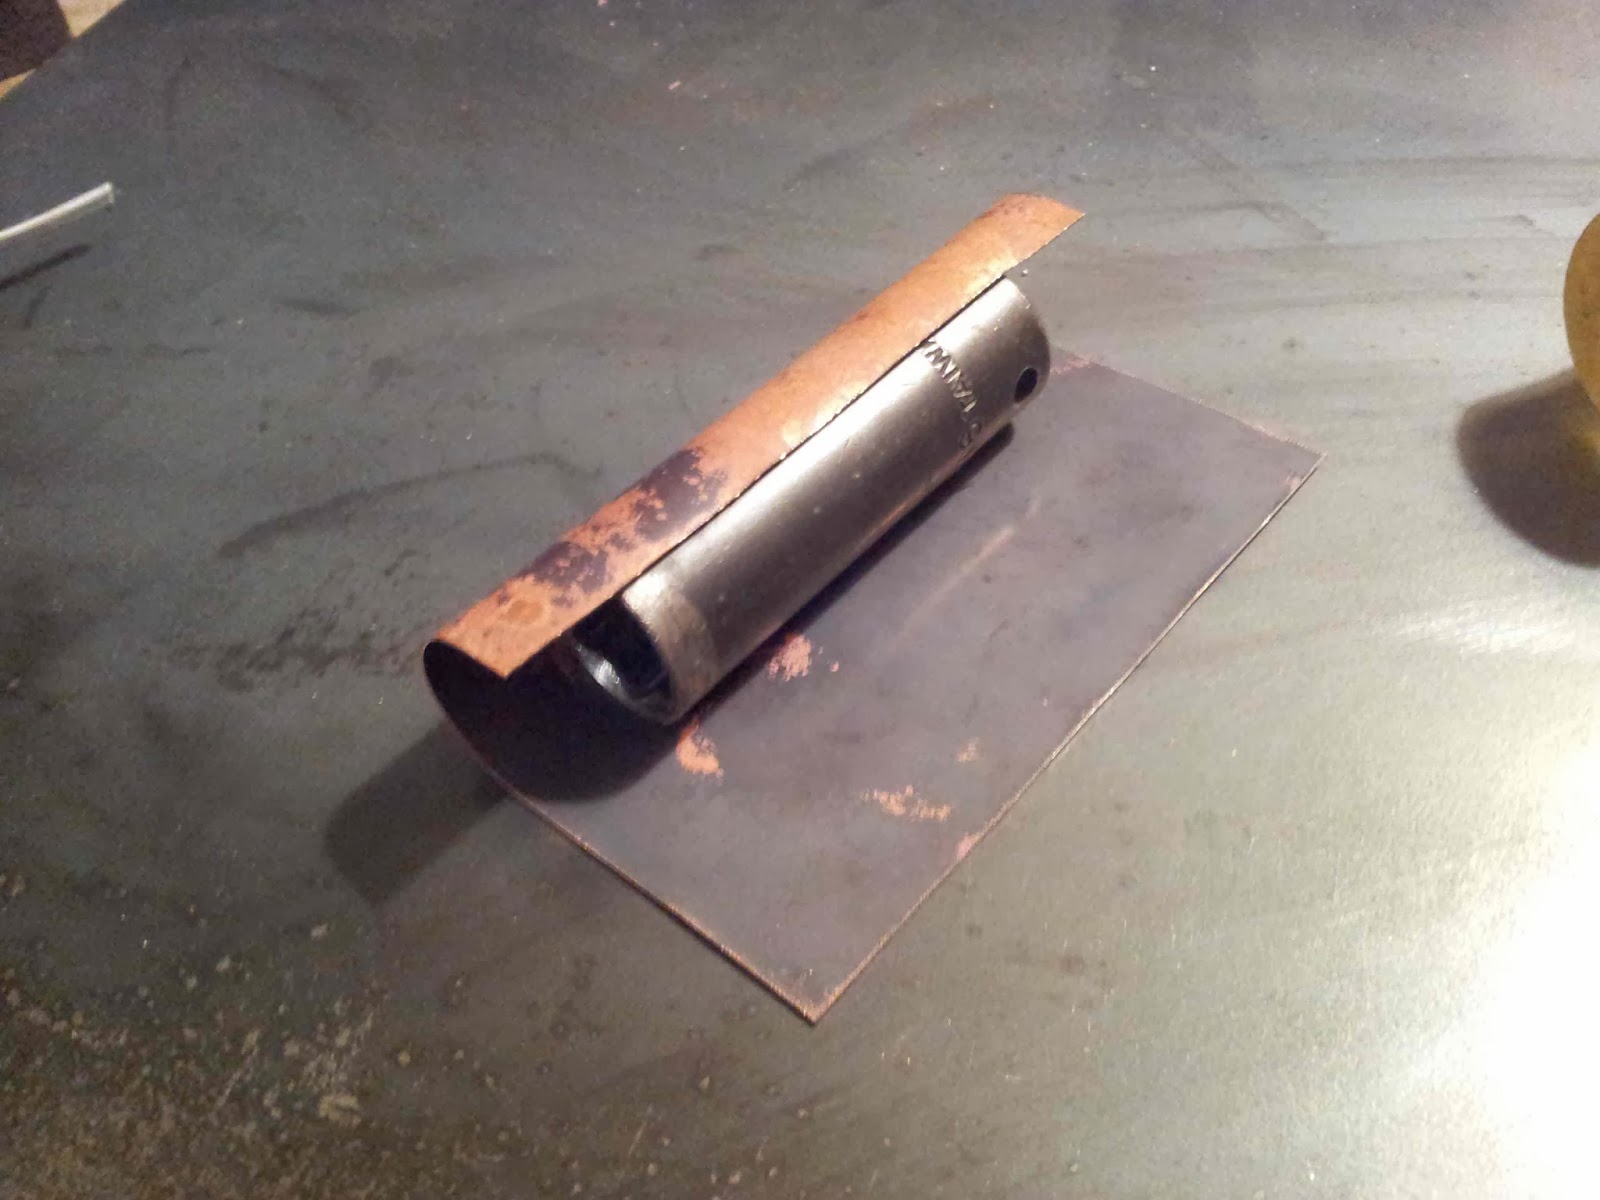
Yeah, my circle cutter came in the mail today. Now I can make some awesome wheels for the locomotive tender.

Wednesday, January 29, 2014

Now we need a headlight

1 make a box with a hole with a cone inside and cut out top piece
2 top piece formed and soldered
3 place top piece on headlight and solder
4 mount head light on locomotive


Saturday, January 25, 2014

we are going to make a smokestack today

1 roll up a sheet into a tube
2 get ready to solder it, notice the little chips of solder waiting to be melted
3 tube is all done
4 solder on a brass strip to finish it out
5 smokestack is done ready to fit to the body
6 smokestack in place #1
7 #2


Thursday, January 23, 2014

I am doing the sand dome today. I found a plumbing component that was the right shape and cut the end off and fitted it. It isn't as ornate as the one on the locomotive I am modeling but is similar to what is seen on other steam locomotives.


Wednesday, January 22, 2014

I am starting to add detail to the top of the body. There are 3 significant items. Starting from the back is the steam dome, then the sand dome and in the front the smokestack.
The steam dome is where the steam is drawn off to go to the drive cylinders. The sand dome is where sand is stored for traction for the wheels. The smokestack vents away smoke and steam. Today I did the steam dome.


Tuesday, January 21, 2014

Saturday, January 18, 2014

adding the back panels today. Forceps are handy to hold pieces together for soldering


Friday, January 17, 2014

I am starting to build the cab area for the engineer and fireman. There are a lot of small pieces to put together. It is nice when you can hide the solder inside so no one can see it.


Thursday, January 16, 2014

Here is how I made the connector rods connecting the steam cylinder to the wheel. Cut out 5 flat pieces, then solder and end on the tubing, then cut the end off the tubing and grind down to make a cap, then solder all the pieces together.


Wednesday, January 15, 2014

Today I added the horizontal slide bar behind the drive cylinder and then drive rods and connector rods to the wheels. Next time I will show the detail on the connector rods.


Friday, January 10, 2014

Today I added the sides of the cab and the floor. Then I modeled the floorboards in cardboard, finally I made the floorboards out of copper. The floorboards are an area to walk on for inspection and maintenance of the locomotive.


Tuesday, January 7, 2014

Today I attached the rear wheels to the locomotive and added a small circle to the front. On the real locomotive this is a handle to open the front smokestack chamber


Monday, January 6, 2014

Here is what is going on today. top to bottom

Added trim strip around front plate
Making trim strips for the body
Trim strips added to body
Trim strips with flash photo
The real thing showing the trim strips in brass


Now that I have the larger tube in place it's time to make the front plate. I used a punch to make the little rivet marks. The second picture shows it soldered in place and trimmed to size.


Sunday, January 5, 2014

Today I made a larger body tube to be closer to scale
Front view

Rear View